Introduction: Why Move Time Machine Backups?
If you work regularly with a Mac, you're certainly aware of the importance of a reliable backup system. Time Machine, macOS's built-in backup tool, offers a simple and efficient way to create automatic backups of your data.
However, sometimes you may need to move your Time Machine backups to a different hard drive or SSD. This guide will show you how to do it.

Reasons for Moving to a New Drive
Over time, the storage space on your backup drive can become limited. Time Machine is designed to continue working even when the drive is full by deleting the oldest backups to make room for new ones.
However, more storage on a larger drive allows you to keep backups for a longer period and access earlier versions of your data. This can be particularly valuable if you discover that an important file was corrupted or accidentally deleted a long time ago.
Guide: Moving Backup to a New Drive
Step 1: Preparing the New Drive
The drive you want to use for Time Machine backup on your Mac must be formatted in a format your Mac can read. For macOS 10.13 High Sierra or newer, you should use APFS (Apple File System). For older versions, Mac OS Extended (Journaled) is the right format.
Step 2: Copying the Time Machine Backup
After preparing your new drive, it's time for the important part of the process – transferring the Time Machine backups. This step requires some patience, as the transfer duration can vary depending on the amount of data.
Disable Time Machine
Before starting the actual transfer, you should ensure that no further backups are performed during the process. This helps avoid data conflicts or interruptions.
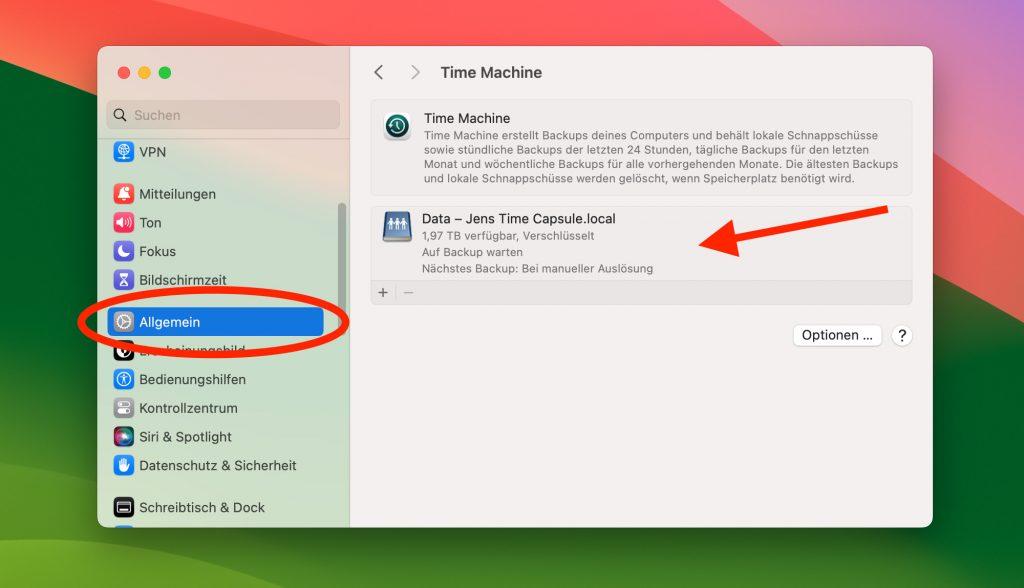
- Open System Preferences and click on Time Machine.
- Turn off the automatic backup option by unchecking "Back Up Automatically".
Connect Both Drives
Connect both the old and new drives to your Mac. Make sure both are properly mounted and visible in Finder.
Copy Using Disk Utility
The safest method to transfer Time Machine backups is using Disk Utility:
- Open Disk Utility (found in Applications > Utilities).
- Select your new drive from the sidebar.
- Click on Restore in the toolbar.
- Choose your old Time Machine drive as the source.
- Click Restore and wait for the process to complete.
💡 Pro Tip
The transfer can take several hours depending on the size of your backup. It's best to start this process when you don't need your Mac for a while, perhaps overnight.
Step 3: Setting Up the New Drive
After successfully copying your backups:
- Open System Preferences > Time Machine.
- Click Select Backup Disk.
- Choose your new drive from the list.
- Click Use Disk.
- Re-enable "Back Up Automatically".
Time Machine will now recognize the existing backups on the new drive and continue where it left off.
✅ Success Check
To verify everything worked correctly, enter Time Machine and check if you can access your old backups. If you can browse through previous dates, the transfer was successful!
Troubleshooting Common Issues
If Time Machine doesn't recognize the copied backups:
- Check permissions: Make sure your user account has full read/write access to the new drive.
- Verify the backup: Use
tmutil verifychecksums /path/to/backupin Terminal to check backup integrity. - Reset Time Machine: Sometimes removing and re-adding the drive in Time Machine preferences helps.
⚠️ Important Warning
Never modify or rename the Backups.backupdb folder or its contents manually. This can corrupt your entire backup history.
Conclusion
Moving Time Machine backups to a new drive is a straightforward process when done correctly. By following this guide, you can safely transfer your valuable backup history to a larger drive, ensuring you have plenty of space for future backups while preserving your existing backup history.
Remember to always verify your backups after the transfer and keep your old drive as a secondary backup until you're confident the new setup is working perfectly.